In a world where everyone’s a food critic thanks to social media, staging food for photography isn’t just an art—it’s a survival skill. Imagine serving a mouthwatering dish that looks as appealing as a soggy cardboard box. Not exactly the gourmet experience anyone craves, right? Fear not! With a sprinkle of creativity and a dash of know-how, anyone can turn their culinary creations into drool-worthy masterpieces.
Whether it’s a vibrant salad or a decadent dessert, the right staging can elevate any dish from “meh” to “wow.” This guide will dish out expert tips and tricks to transform your kitchen into a food styling studio. Get ready to impress friends, family, and followers with photos that’ll have them asking for seconds—if not thirds! Let’s dive into the delicious world of food photography and make those plates shine.
How to Stage Food for Photography
Food staging plays a critical role in enhancing visual appeal. It transforms regular dishes into enticing focal points for photography.
Importance of Food Staging
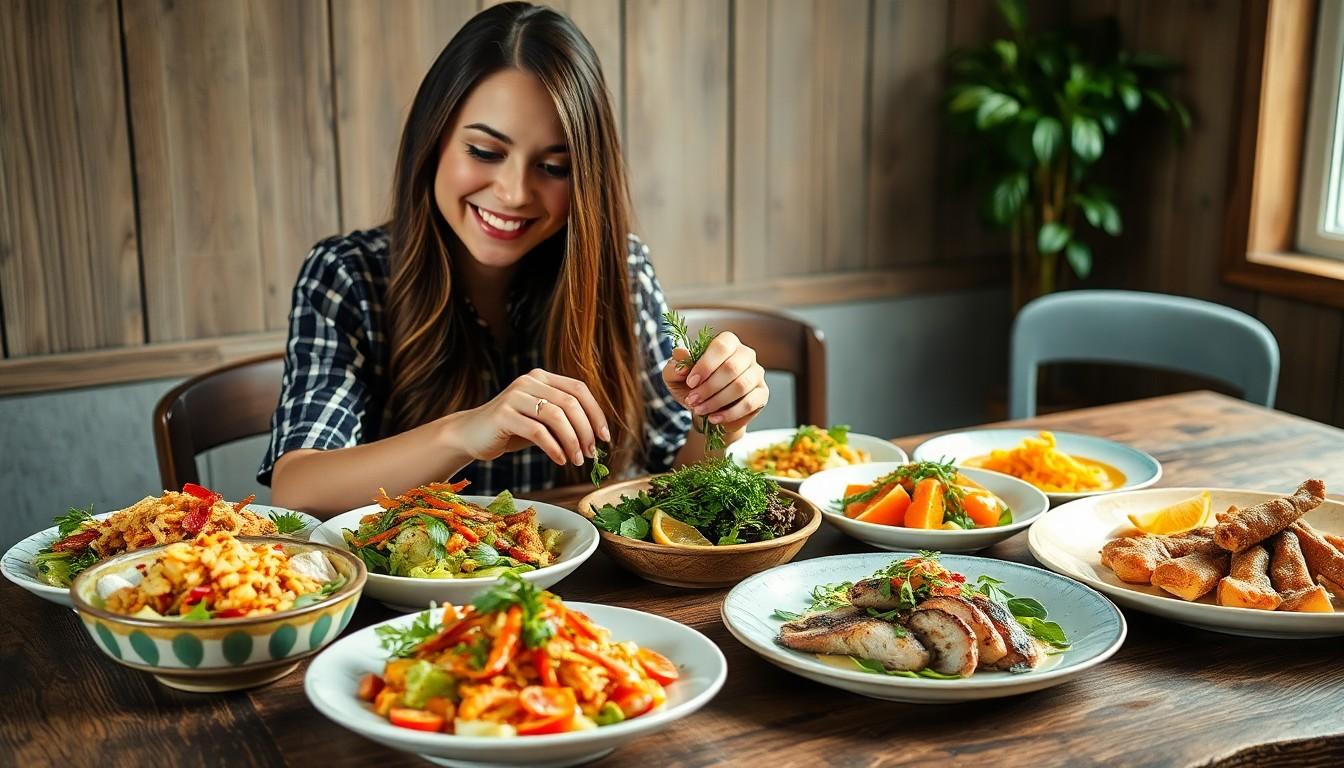
Food staging significantly impacts viewer perceptions and reactions. Attractive presentation can evoke emotions, making people more inclined to share images. Strong visuals capture attention on social media platforms, increasing engagement and reach. Appealing food arrangements create positive dining experiences, leading to favorable reviews. Skillful staging can turn everyday meals into shareable moments, critical for both home cooks and professionals alike.
Key Elements of Staging
Color balance enhances attractiveness; vibrant colors make dishes pop. Texture variety contributes depth, encouraging viewers to connect with the food emotionally. Height variation creates visual interest, drawing the eye upwards. Plate selection should complement the food, avoiding distractions while enhancing the overall aesthetic. Lighting choices affect mood; natural light often works best for portraying freshness. Using garnishes adds finishing touches, elevating the visual appeal of the dish.
Choosing the Right Props
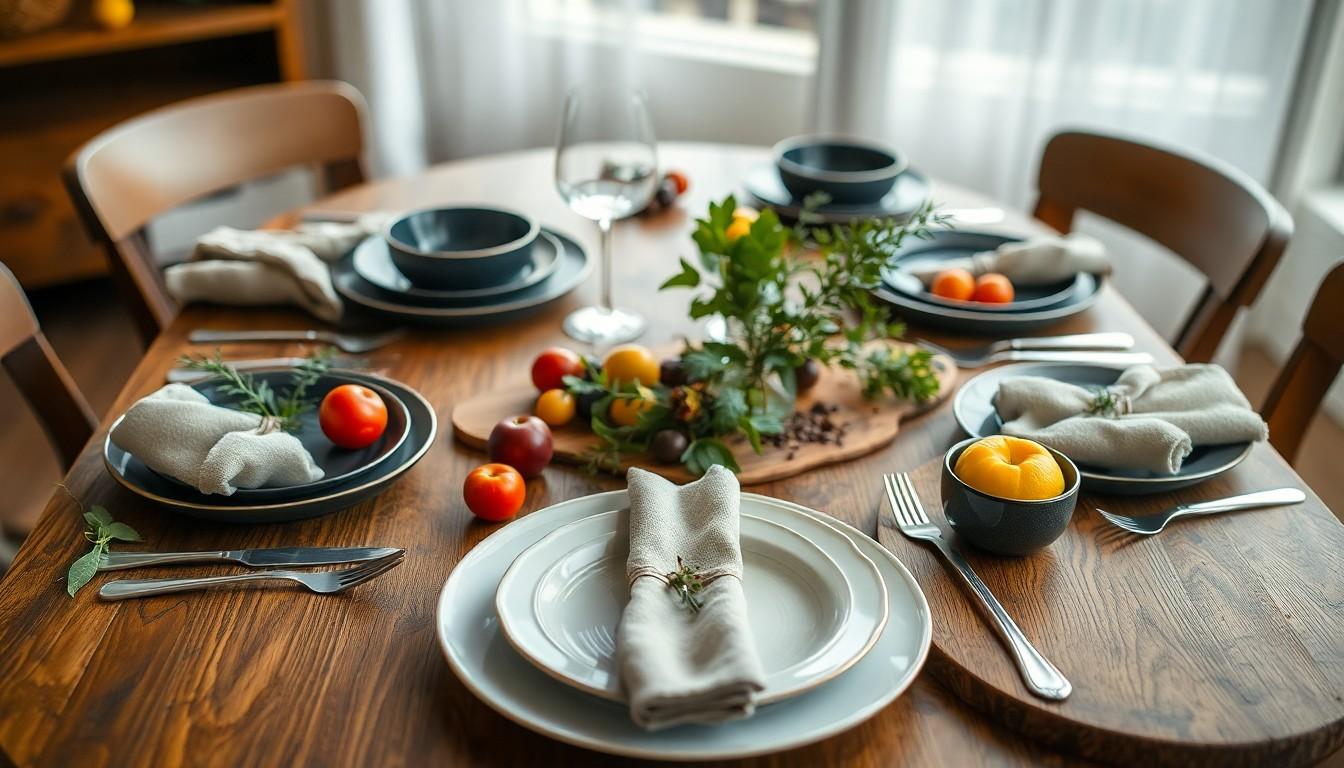
Selecting the right props significantly enhances food photography. Thoughtful choices elevate the dish and create an appealing context.
Types of Props to Consider
Choose utensils that complement the food, like elegant plates and unique cutlery. Incorporate cloth napkins for added texture and warmth. Use serving boards or rustic containers to offer a natural, authentic presentation. Glassware can add an element of sophistication, especially for beverages. Consider seasonal items like fruits or herbs that can enhance the overall aesthetic. Each prop should harmonize with the dish without overwhelming it.
Color and Texture Combinations
Utilize contrasting colors to make the food pop. Pair vibrant dishes with neutral backgrounds to highlight their features. Texture contrasts matter; mix smooth surfaces with rough elements for visual interest. Balance shiny and matte finishes in props to create depth. Layering is another technique; stack plates or bowls to introduce height and dimension. Remember, cohesive color schemes foster a unified look while enhancing the overall appeal.
Lighting Techniques
Proper lighting is essential for showcasing food effectively in photography. It enhances color, texture, and overall appeal, making dishes irresistible.
Natural vs. Artificial Lighting
Natural lighting offers the best results for food photography. Soft, indirect sunlight creates a pleasing ambiance that accentuates food colors. Positioning food near a window captures light beautifully without harsh shadows. Golden hours, shortly after sunrise or before sunset, provides an excellent warm glow. On the other hand, artificial lighting can replicate natural light when needed. Using softbox lights or LED panels allows for control over brightness and direction. Adjusting color temperature helps to maintain color accuracy. Experimenting with both types of lighting reveals which works best for specific dishes.
Using Reflectors and Diffusers
Reflectors enhance lighting by bouncing light onto food, brightening shadows effectively. Silver reflectors create a bright and crisp look, while gold reflectors add warmth. Placing reflectors at angles helps highlight specific features of the dish. Diffusers soften hard light, preventing harsh contrasts and shadows. Using sheer fabrics or professional diffusers spreads light evenly, creating a more appetizing presentation. Positioning diffusers between the light source and food promotes a balanced effect. Combining reflectors and diffusers results in beautifully lit food photos that draw attention.
Arrangement and Composition
Arrangement and composition play vital roles in food photography. Effective staging not only showcases the dish but also tells a visual story that captivates viewers.
Rule of Thirds in Food Photography
Applying the rule of thirds enhances composition significantly. This technique involves dividing the frame into a grid with nine equal parts and placing the main subject along these lines or their intersections. Strategically positioning the food in one of these areas creates balance and draws attention. For example, placing a vibrant salad off-center adds intrigue and invites the viewer’s eye to explore the entire image. Experimenting with different placements can yield various results, providing engaging and dynamic photos.
Creating Depth and Layers
Incorporating depth and layers adds dimensionality to food photography. Using multiple elements in the foreground and background enriches the visual experience. For instance, props like herbs or utensils can occupy the foreground, while a blurred background might feature complementary dishes or vibrant table settings. Varying the height of different food elements, like stacking or arranging items at different angles, creates visual interest. Utilizing shallow depth of field also emphasizes the main dish, allowing it to stand out, while layered textures enhance the overall appeal. Each technique contributes to a compelling visual narrative.
Final Touches
Final touches can transform a good food photograph into a stunning one. Paying attention to the last details elevates the visual experience.
Adding Garnishes and Accessories
Garnishes enhance visual appeal and add color contrast. Fresh herbs like basil or cilantro brighten dishes and provide texture. Edible flowers offer a unique decorative element, while citrus slices can provide a pop of color. Using sauces creatively also helps, drizzling them artfully around the dish. Accessories like rustic utensils or vibrant napkins complement food styling. Effective placement of these elements can draw focus while maintaining a minimalist aesthetic. Tasteful arrangements create layers and intrigue, inviting viewers to engage with the image.
Post-Processing Tips for Staged Food
Post-processing enhances food photography and enables fine-tuning. Adjusting brightness and contrast can bring food colors to life. Cropping can remove distractions from the frame, sharpening the focus on the dish. Utilizing filters adds a cohesive look while maintaining authenticity. Clarity adjustments emphasize texture, making food appear more appetizing. Adding a subtle vignette can guide the viewer’s eye toward the main subject. Consistent editing styles create a recognizable aesthetic, perfect for social media feeds. Understanding these tools elevates staged food, ensuring captivating imagery.
Mastering the art of food staging for photography can transform ordinary dishes into captivating visual experiences. By focusing on elements like color balance texture variety and optimal lighting anyone can create stunning images that resonate with viewers.
Experimenting with props and arrangements further enhances the overall appeal bringing a unique touch to each shot. Attention to detail in the final presentation can elevate the dining experience and make dishes truly memorable.
With practice and creativity anyone can refine their skills and produce shareable food photography that impresses friends family and social media followers alike.